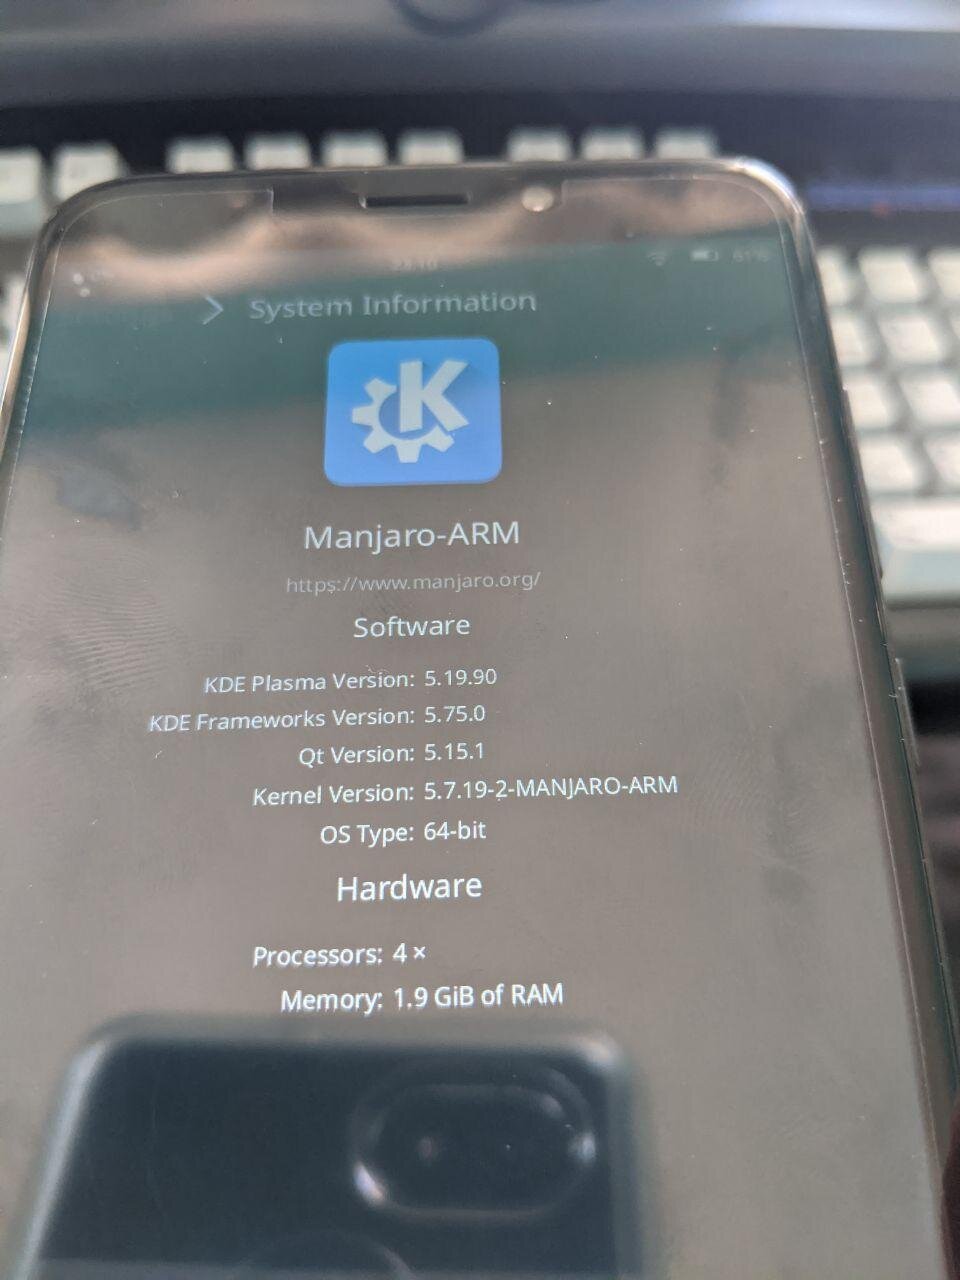
PC Gaming on a PS4 via Linux
/Hello there. Time for a little adventure. If you want the short and sweet of it, continue following along, but I have a more scatterbrained story over here. Again, none of this would be possible without the reverse-engineering efforts of Marcan and the Devs helping out at SCE Party.
Having had a long history of working with more-savvy-than-I people in the community to get various forms of Linux running on things in the past, I’ve wanted to repurpose my PS4 that is no longer seeing any action.
My original Wii, that “OG” Nintendo DS, my original PSP and my prior Xbox 360 were all given the same homebrew treatment in the past, so why not the PS4 I no longer use? The upside to the PS4 is that it has the guts of a PC compared to the custom stuff of the past. Now, the adventure begins….
Note, for this guide I am using the original 2013 CUH100C1 PS4 model on firmware 7.00, and I will be connected to the internet via a wired Ethernet cable. Your model may differ, but the guide remains the same. For PS4 Pro owners and more recent models, follow the videos of this youtuber to stay up to date on jailbreaks.
The first thing I did, upon finding my old ps4, was get into settings and check out the firmware version. You can view this by going to Settings -> System -> System Information. At the time of my writing this, on Jan 4 2020, only systems running 7.02 or earlier firmware are jailbreak-able. Luckily, having not touched this machine in over a year, it is still on 7.00.
Next, we’ll want to head to our PC of choice, with a flash drive or external hard drive of 128gb minimum at the ready. I only recommend 128gb minimum if you wish to install PC games from Steam on there going forward- 64gb drives work just as well. My daily driver is my Thinkpad P51 running Fedora Linux, but your operating system doesn’t really matter for this part. Go grab the PS4 Gentoo image (this is the January 2020 update) compiled by Marcan and then download Etcher. Etcher has had the highest success rate amongst those I’ve talked to over Telegram and in Youtube comments thus far, so it’s a safe and easy choice. Next, take that Gentoo Image and extract it with 7Zip or gunzip until you have just the file ending in .img. Now, open Etcher, select your flash drive and then your .img file and flash away!
Once Etcher has completed flashing the image to the drive, close it, eject the drive in your OS of choice, and insert it into a free usb port on your PS4. It may be late in this article, but I also recommend having a USB 2.0 or 3.0 hub such as this cheapo one, so that you can have a mouse and keyboard plugged into one port with your drive plugged into the other. My PS4 only had two ports on the front.
Before we jump into the fun Linux-booting times, it is recommended to change some video settings for your PS4 so that the screen won’t turn black. Head over to Settings, and go to Sound and Screen, then Video Output Settings. Then set Resolution to 1080p instead of Automatic or prior settings. Next, turn off HDR from the same menu. Then, back out to the Settings screen again and head to System and disable HDCP! You should be good to go from there.
Now, with the drive inserted, open your built-in Web Browser on the PS4. Close any pages currently loaded and open a new one. Navigate to the Hakku Raifu Exploit Host at this address. Going forward, I’ll be referring to this as HL to keep things simple. Once you’ve reached the page, you should find a menu such as the below image…
Once you are at this menu, select the available exploits for your firmware version. Since my firmware version is closest to 7.02, I’ll select that option. Note that if you don’t want to keep getting nagged by the PS4 trying to update, run the Disable-Updates exploit until it successfully finishes- there will be a pop-up letting you know- in order to make sure you aren’t patched automatically.
For the Linux options in the 7.02 Exploit HL menu, I’ll select the Linux-3GBVRAM option, since I’ve had issues using the 1GBVRAM loader in the past. Note that newer consoles might not have issues using the 1GBVRAM exploit, however my console is apparently only able to load the Linux-3GBVRAM option. The good news here is that the GPU part of your PS4’s processor will gain more memory, allowing for smoother gameplay in Steam games and retro ROMs you load.
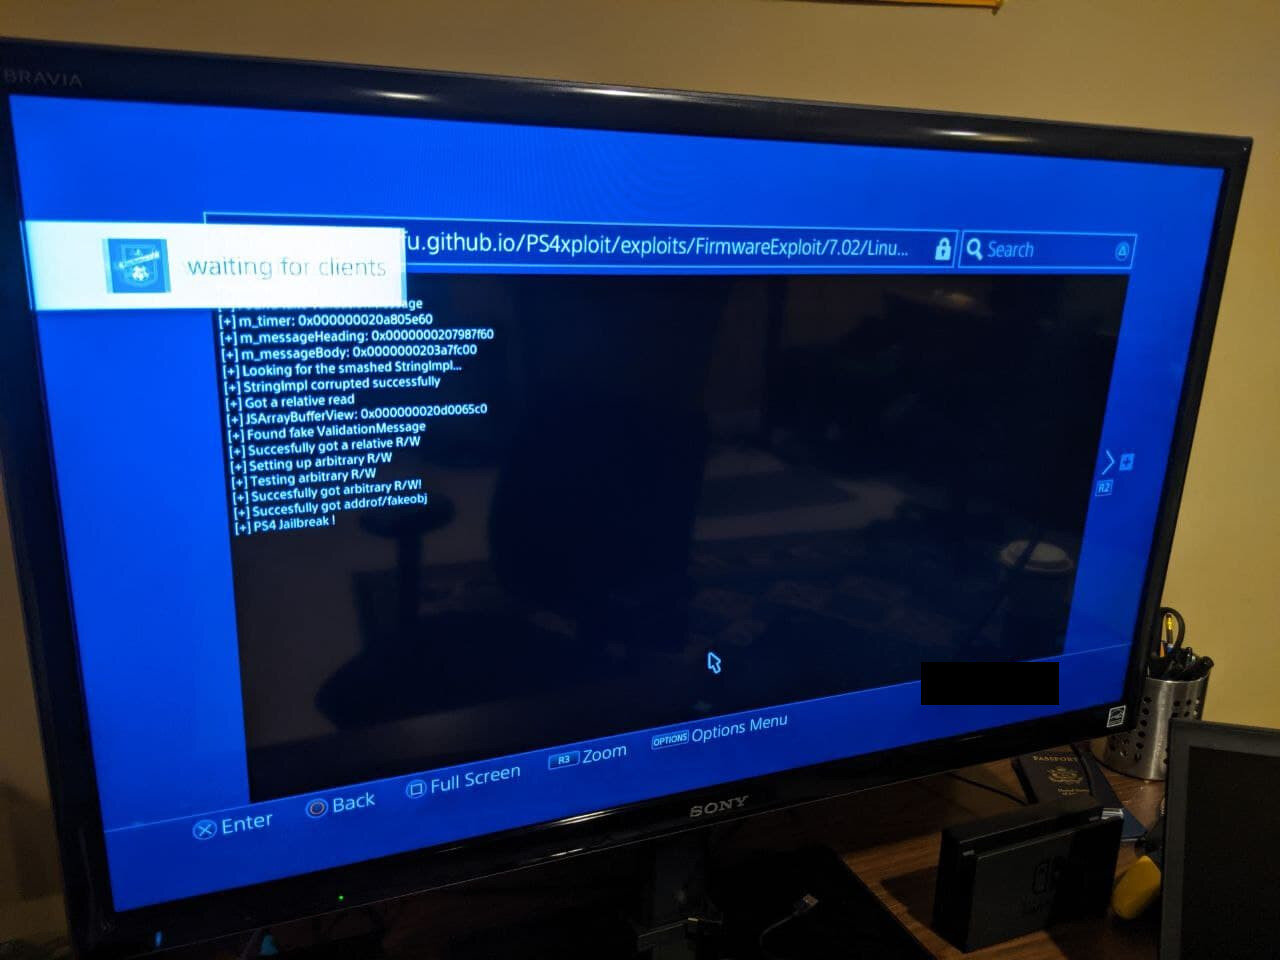
Note that you may need to leave the webpage open and let it re-run a few times, as it is common to get “not enough system memory” errors when running it. My suggestion here is to hit the Options button, go to Settings and “Clear Website Data” as well as “Delete Cookies” every time you get an out of memory error. Deleting browsing history from the main Options menu can help as well. Eventually, you’ll see the above page and that slide-in notification will let you know the exploit has taken off.
Now, if you have retained that patience, we wait! Eventually the screen will go black and your monitor or TV may complain of the lack of an input. This is totally normal! Just wait for a minute or two. Eventually you’ll be greeted by a screen with penguins at the top and various information scrolling vertically. After that, you should load into a screen that looks like the following…
Hello, Gentoo!
Once you’ve got to this step, congratulations! You’ve succesfully booted to the Linux image on the drive you’ve plugged in! Steam, Retroarch and various other programs have already been installed to this by Marcan, so we just need to do some minor logins and adding roms and we’re good to go!
If you want to know about the rom side of things, Modded Warfare covers that in detail, but I’m just interested in some PC gaming on the PS4 for now, so that’s what I’ll go over next.
Move your mouse down to the hidden dock at the bottom of the screen and click the Playstation icon on the far left.
Type in Gparted in this menu and click the only result. If it asks for a pasword, the default password for this should be “ps4". Click the drop down menu in the top right of this program and select your flash drive or hard drive you are booting from- in my case I’m booting from a 256gb flash drive, so I will choose that, as seen below.
After choosing the ext4 partition, you will want to extend it to fill the rest of the drive, so you have space to install games or download roms etc.
Make sure to drag the arrow to the end of the right side in the menu that follows.
After that, let’s open up Steam!
Click the playstation icon in the bottom dock again and search “steam”. Steam should come up, though it may need to update after getting clicked. Let it update, and then sign into your Steam account , if you have one! I’ve been playing PC games via this service for a few years, so there’s a good library I’ll get to testing soon.
As shown in the screenshot above, I recommend enabling the Proton compatibility layer before you start installing PC games. To do this, click Steam in the top left of the window, then Settings -> Steam Play -> Enable Steam Play For All Other Titles. You will likely have to restart Steam after clicking OK. That’s fine.
At the time of writing this, Proton Experimental should be available, so feel free to test out that option for more recent PC games, but I’m using proton 5.13 for my testing of Hades and Risk of Rain 2….although it seems Risk of Rain 2 may have some issues with the graphical hardware here as it doesn’t open…
But hey! I got Hades to run fine! Had to black out a friend messaging me in the below screenshot. Go ahead and play your Steam games to your heart’s content! ProtonDB can be a valuable resource for getting other Steam games to run…though I highly recommend playing games that are a Platinum rating, as the other rating tiers can require a bit more “hands-on” work to get things running.
Enjoy!
Hades is copyrighted by SuperGiant games, and I’m just using this to prove it will load.